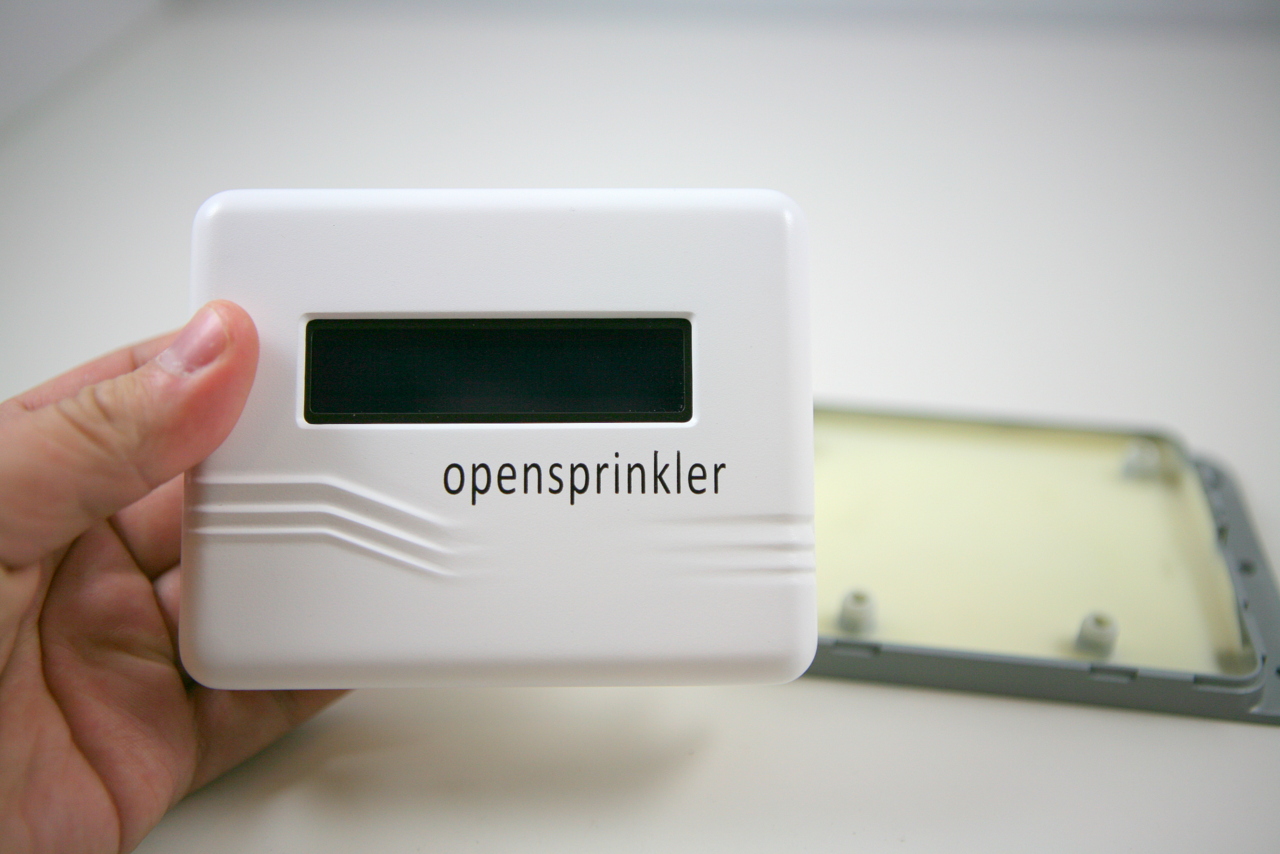
Today I received the 3D printed prototype enclosure from Seeed. It was supposed to arrive on last Friday but due to a snow (which affected nothing) DHL didn’t deliver that day. In any case, I got it today, and it is beautiful! Check out the pictures below:


A couple of quick notes:
- The new enclosure will use opaque material (instead of transparent plastic as the current enclosure). So there is now a cutout for the LCD on the top. This will give it a more professional look.
- The designer at Seeed recommended a clever design that uses a single set of 4 screws to simultaneously fix the top and bottom pieces together, and the PCB in the middle. This reduces the number of screws and provides more PCB space.
- There is now a cutout for the expansion board connector which makes it easy to plug in cables without opening the enclosure.
Overall I am very satisfied with the prototype. There is still some verification I have to do to make sure the PCB and components fit well with the enclosure. Hopefully I will place the mold order soon!
