  |
The first step is to solder the power supply section, which provides power to the LCD (+5V) and the microcontroller (+3.3V). To begin, place the PCB onto the holder (vise), and turn on the soldering iron. The components in this part are all located at the lower-left corner of the PCB. Note that components should be inserted from the front side of the PCB and soldered at the back side.
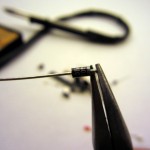
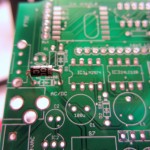
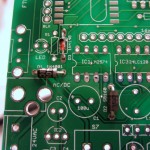
The first component to solder is D1, which is a 1N4001 diode. It looks very similar to D2 (1N5819), so read the label on the diode to distinguish between them. Use pliers to gently bend the two leads of the diode so that it fits the holes nicely. Before inserting, note that diodes have polarity, allowing current to flow in only one direction. Check the diode and identify the end with a white stripe (the negative lead). This stripe should match up with the silkscreen on the PCB. Again, when in doubt, click on the images to get an enlarged view. |
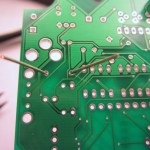  |
At the back side of the PCB, bend the leads to the side, so that you can flip the PCB and the diode will stay in place. Solder the leads to the board. Each solder joint should be smooth and fill the entire hole.
To make sure the component lies tightly on the PCB, you can solder one lead first, then keep the solder join melt while pushing the component against the PCB at the front side. Once it’s in place, you can proceed to solder the second joint. This can prevent the component from falling out during soldering.
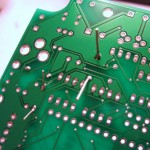
The next step is to use a diagonal cutter to clip leads just above the end of the solder joints. After clipping, there should be almost no leads sticking out. |
  |
To improve productivity, you can insert more than one components together, bend theirs leads, and solder them at once. But keep in mind that the more components you insert, the harder it is to make sure they all stay in place.
Next, solder D2 which is a 1N5819 (or SB160 depending on your batch) Schottky diode, and D3 which is a 1N4148 diode (it looks red and is much smaller than the other two diodes). Again, follow the stripes on the diodes to make sure you insert them in the right direction. After soldering and clipping away excessive leads, they should sit on the PCB like the picture shown on the left. |
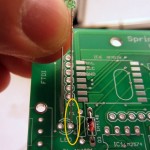 |
Now you should solder the green LED. LED is essentially a diode so it too has polarity. The longer lead of the LED is the positive lead, and should go into the hole marked with a + sign, as shown in the picture. |
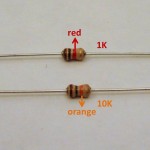 |
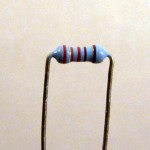
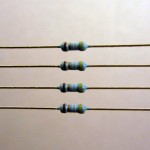
Next, solder R1, which is a 1K resistor. Be careful that in the package you will find two resistors with very similar looks, but they are different. One has a red ring and is what you should solder here; the other has an orange ring and it is a 10K resistor that you will solder later. If you are unsure, use a multimeter to measure the resistance! Resistors are non-polar, so they don’t have a direction and you can insert them either way.
Update: the package now has three resistors, two 10K, and one 1K.
|
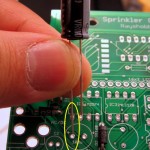 |
Moving on, now let’s solder C1, a 100uF electrolytic capacitor. It’s a relatively large component and is easy to locate on the PCB. Electrolytic capacitors are polarized, so make sure the longer (positive) lead goes into the hole marked with a + sign. As a double check, there is a white stripe on capacitor body which points to the shorter (negative) lead, and that should go into the other hole. |
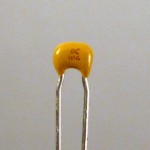 |
Now, solder C4, a 0.1uF ceramic capacitor. Be careful that in the package you will have two sets of similar ceramic capacitors, they are small and are yellow colored. One set contains six five in a stripe, all at 0.1uF; the other set contains two 18pF ones. If you look closely at the marks on the capacitors, the 0.1uF one should read ‘104’.
Ceramic caps are non-polar, so insert them any direction you want. |
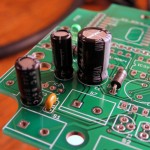 |
Next, solder C2 and C3, they are identical 220uF electrolytic capacitors. Make sure that you insert them by aligning the longer lead with the + sign. |
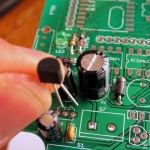 |
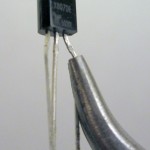
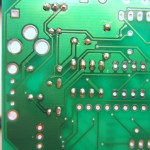
Next, move on to IC2, an MCP1700-33 linear regulator (from the IC bag). It outputs +3.3V regulated voltage. It has 3 pins and is shaped like a half cylinder, similar to a transistor. Be careful not to confuse it with LX807DE, which are also shaped like transistors but come in strips of five in a different bag.
Align it such that the semi-circle matches the silkscreen on the PCB. Insert the leads as deep as you can into the PCB, but don’t use too much force. |
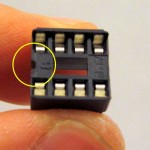  |
Now it’s time to solder the IC socket for IC1. The socket protects the chip and allows you to replace it if anything goes wrong. This is an 8 pin (2×4) IC socket. Note that every socket has a small notch (see the picture on the left) to help identify its orientation. This notch must match up with the silkscreen on the PCB.
The leads on the socket are curved, so it will stay in place when you insert it to the PCB. The picture on the left shows the solder joints after soldering. |
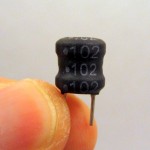 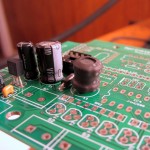 |
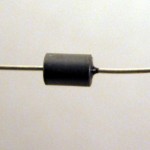
Moving on, let’s solder L1, a 1000uH inductor. It’s black colored and the marks on its body read ‘102’. Inductors are not polarized, so insert them any direction you want.
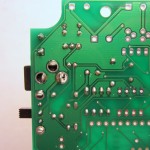
After this step, you can compare your soldered components with the picture on the left. |
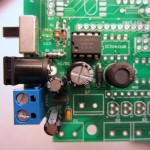  |
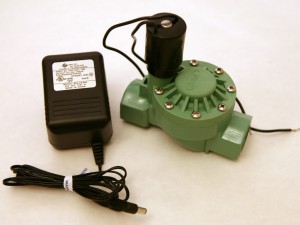
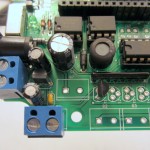
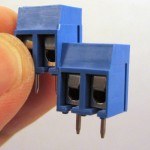
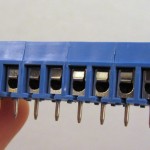
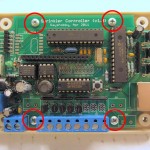
We are almost done with this part. The last step is to solder J0 (terminal block), J1 (power barrel), and J2 (slider switch). Either J0 or J1 can provide input power, and the choice depends on what type of sprinkler transformer you have. If the transformer comes with a power plug, insert it to J1; otherwise, if it has two terminal wires, insert to J0 and tighten the screws. Examples can be found below. J2 is a power switch. Sliding it up turns off power; and sliding it down turns on power.
If you have difficulty holding the components in place while soldering, use a tape to tape them in place.
The PCB holes for J1 are quite large. You don’t have to fill the entire holes with solder — as long as solder fills one side of the pin it should be fine. Make sure each solder joint creates good contact of the pin and the pad. Refer to the picture on the left.
Also check to see there is any solder debris that may short the circuit. If a solder joint is too large and seems to be touching other joints, use a solder pump to suck away excessive solder. |
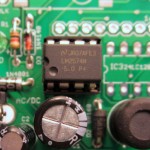 |
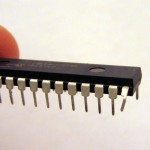
Before moving on, insert IC1 into its socket. This IC is an LM2574N switching regulator. It outputs regulated +5.0V from a wide range of input voltage (up to 40V). Make sure that its notch matches the notch on the socket. If you are not sure, refer to the picture on the left. |
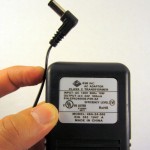 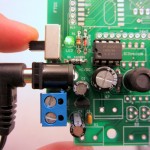 |
Now it’s time to test the power supply section. First, slide the switch (J2) up to turn off power; then, insert the 24VAC sprinkler transformer, if it comes with a power plug, insert it to J1 (power barrel); finally, slide J2 down, you should see that the green LED lights up.
Important: (although this is unlikely) if anything burns or smokes, immediately turn off power. Check to see if there is any component visibly damaged. If you can’t figure out the problem, post a message in the forum and we will help you.
Tip: For testing, you can substitute the 24VAC adapter with a DC adapter, as long as its output voltage is above 6V. For example, a standard 6V or 9V DC adapter can be used for testing. Using a low-voltage adapter reduces the possibility of electric damage in case things go wrong. |
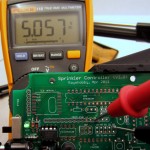 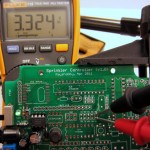 |
Voltage check: use a multimeter, measure the voltage between ground (GND) and the fourth to last pad of the 16×2 LCD. It should read about +5V. This is the voltage required to drive the LCD.
Next, measure the voltage between GND and VCC, it should read about +3.3V. This is the voltage supplied to the MCU, Ethernet controller, and anything other than the LCD.
Important: It’s crucial to check that these voltage readings are correct, otherwise your controller may not function later.
Note: after testing the voltages, please disconnect the power before continuing.
|
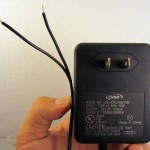 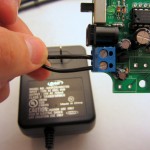 |
In case your sprinkler transformer comes with two terminal wires instead of a plug, you can insert the wires to the terminal block J0, and tighten the screws. |
