Feed on
Posts
Comments

The OpenSprinkler software (specifically svc_demo and vc_simple_web) have been quite outdated since October last year, and I am increasingly unhappy with the issues in them. I’ve also received several requests for added features and improved user interface. Over this weekend, I have finally pulled myself together and made some updates to these programs. Here is a list of major changes:

  • Created the OpenSprinkler Arduino library, which makes it easy for code re-use.
  • Added support for arbitrary number of stations. This is probably one of the most common features requested, and it’s now generically supported in software. This will go well with the upcoming hardware update v1.1. The main additions of v1.1 are on-board pinouts and connectors to link extension boards. Each extension board consists of just a shift register, triacs, resistor networks and terminal blocks. So this is a simple and inexpensive way to scale up to potentially a large number of stations.
  • Added a self-test mode and removed the manual schedule mode. The self-test mode can be activated by holding button B1 during startup.
  • External EEPROM now stores data in NOT format (i.e. ~value instead of value), eliminating the un-initialized EEPROM issue.
  • The new svc_button_ctrl and svc_full_schedule programs. These make use of the new OpenSprinkler library and replace the previous svc_simple_web and svc_demo programs (which are now in the archived folder).

You can get a copy of the updated programs from my GitHub download page. They are backward compatible with the previous version of OpenSprinkler, so you can feel free to give them a try on your current hardware.

In order to use the OpenSprinkler library, just copy the library folder to your Arduino’s libraries directory, and then in your main code, add:


#include<OpenSprinkler.h>
OpenSprinkler svc;
void setup() {
  svc.begin();
  svc.options_setup();
}

This will create an OpenSprinkler object called svc. Check OpenSprinkler.h in the library folder for all class member functions, and the svc_button_ctrl and svc_full_schedule for examples of writing your own code. A few simpler examples will be added to the library later.

The hardware update v1.1 will be available in a week or so. I am still finishing up some documentations, but that shouldn’t take long.

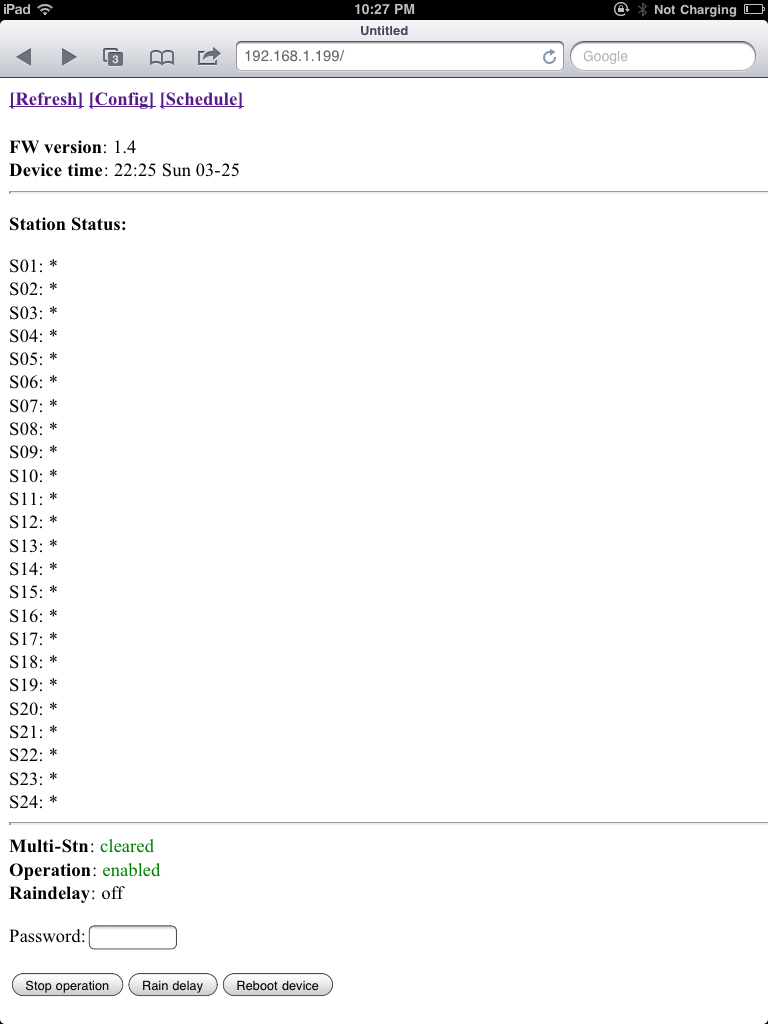
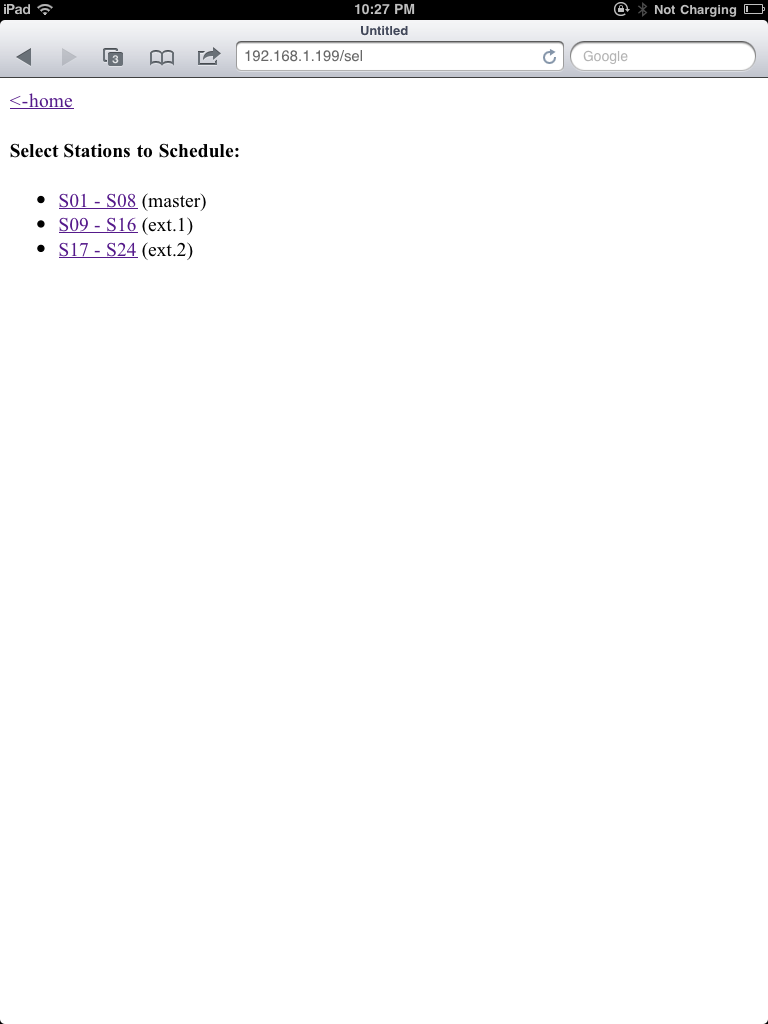
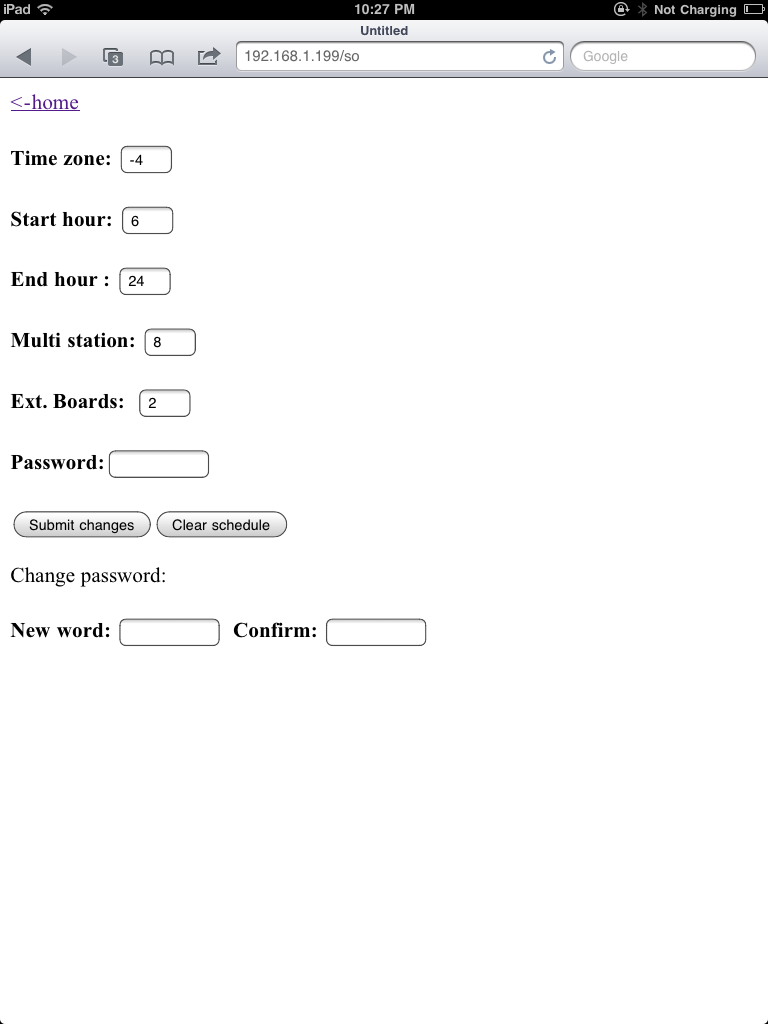
For the curious ones, here are some screen shots of webpages from the new programs. These examples show 24 stations:

svc_button_ctrl

svc_full_schedule

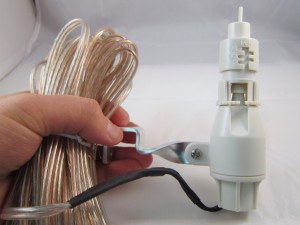
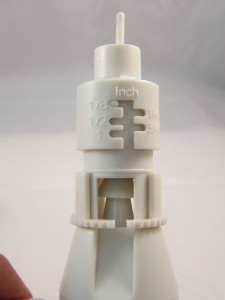
Rain/freeze sensors are useful for detecting rain or freeze conditions, and delays or stops watering accordingly. There are many types of rain sensors on the market. Recently I tried out this Orbit 57069 rain/freeze sensor. It’s very easy to connect to OpenSprinkler, and works quite well. The rain delay time can be easily adjusted by setting the water evaporation speed.

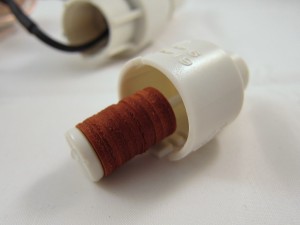
So how does this rain sensor work? It’s pretty simple. The sensor has two wires, which are normally connected to each other inside through a switch. The top of the sensor has a small chamber, which contains a string of sponge pads (see below). When it rains, the water will drip into the chamber and gets absorbed by the sponge pads. The pads will then expand and press against each other as well as the top of the chamber. When it expands to a certain point, the switch inside the sensor will be pressed down, disconnecting the two wires. The height of the chamber can be adjusted to control when the sensor is activated – in other words, the amount of rain that will activate the sensor. There are five options: 1/8, 1/4, 1/2, 3/4, and 1 inch.

Down below the chamber is an evaporation window. The size of the window controls how fast the absorbed water evaporates, thereby controlling the rain delay time. After the rain stops, the sponge pads will gradually shrink, and at some point the switch is released, thus the two wires are connected again. This is a very clever design because it’s purely mechanical, requires no power itself, and is easy to adjust. The downside is that you cannot set the delay time precisely – obviously the local humidity and temperature will affect the evaporation speed.

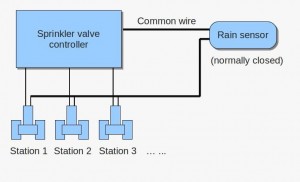
Once you figure out how it works, it’s very easy to connect it to OpenSprinkler. The diagram above shows the connection (Not sure where the ‘common wire’ is? Check out this diagram). Simply put, the sensor acts as a normally-closed switch placed on the common wire. When the sensor detects rain or freezing condition, it disconnects the common wire from the sprinkler valves. As is, it can work with almost any kind of sprinkler timer, without modifying the timer itself.

The sensor should be installed on the roof or next to the gutter. You need to run a wire from the sensor to your sprinkler timer. The sensor itself comes with a relatively long wire, so that shouldn’t be a problem. If you want, you can even get a wireless version at a slightly higher cost.

That’s it – if you need automatic rain delay control, this is an easy, inexpensive option you may consider.

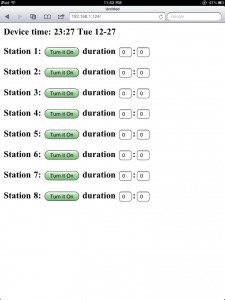
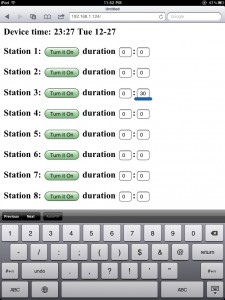
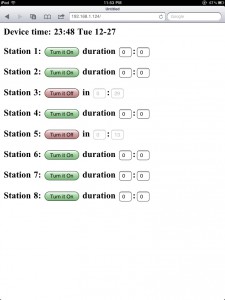
At times you may want a simple web-based interface to directly control each sprinkler valve, without having to set up a complex schedule. I’ve written the svc_simple_web program exactly for this purpose. To start, take a look at the web interface of this program:

Quite simple, isn’t it. The top line shows the current time; underneath it is the list of eight sprinkler stations. Clicking a button will turn on the corresponding station, and clicking the same button again will turn it off. To make it a bit more useful, you can set a timer (i.e. duration) for each station. The duration is specified by the number of hours following by minutes (hh:mm). Once a station is turned on, the program will keep track of the running time and stop that station when the duration time is reached. Meanwhile, the webpage will display the remaining watering time. You can set an individual time for each station, say 30 minutes for station 3, and 15 minutes for station 5. Setting the duration to 0:0 means there is no time limit: once on, the station will only be turned off when you manually click on ‘Turn it Off’. This way, you can either manually control the stations, or set a timer for it.

If you are interested, feel free to try this program and let me know your comments. The program can be downloaded on the following page:

OpenSprinkler Download Page

Note that the software is now released in GitHub for the purpose of better version control. The code will be regularly updated. You can sign up for the RSS feed on the GitHub update history page, in order to track the updates.

This is a heads-up for the upcoming ‘weather’ feature in the OpenSprinkler software. It makes use of the Google Weather API to obtain current weather data in your local area. The Google Weather API returns data in XML format. Unfortunately the OpenSprinkler, which uses a small microcontroller, cannot directly handle the returned data. So what I had to do is to write a Python script that translates the XML data into something that’s much shorter and simpler, so that it can be processed by OpenSprinkler. I’ve put up the script on this website. You can try it by using the following url:

http://rayshobby.net/scripts/getweather.py?location=nyc

It returns a simple html page that’s well within a single Ethernet packet. One nice feature about using the Google API is that you can specify the location in a variety of different formats, such as zip code, city name, or sometimes abbreviated names like ‘nyc’. Feel free to give it a try. This script will be published later, so you can install it on any server you want.

Another feature is the weather forecasts. Right now I have no plan to use this information, but it may be useful for the future. You can get forecast data using:

http://rayshobby.net/scripts/getweather.py?location=nyc&forecast=1

It can return up to four days of forecasts.

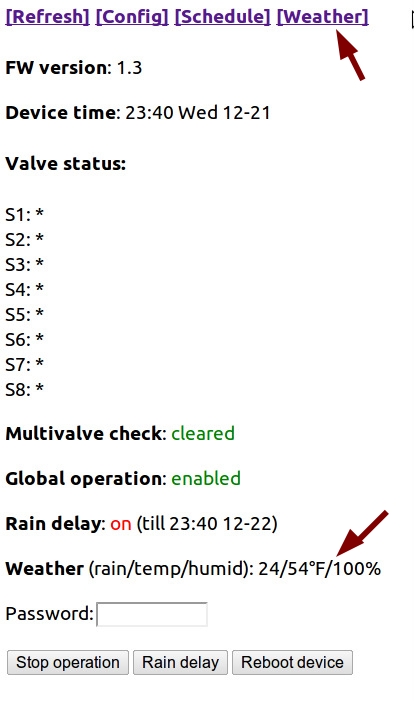
I’ve modified the Arduino code to periodically retrieve weather data from the server. The new OpenSprinkler webpage has the following changes:

Note the new ‘Weather’ link in the menu bar, and the weather information on the bottom, showing the current rain index, temperature, and humidity. The rain index indicates the heaviness of the rain, and translates to the rain delay duration. The program currently calculates the rain index from the weather description returned by the script. For example, ‘Rain’ or ‘Thunderstorm’ translates to a high rain index, while ‘Light Rain’ translates to a low rain index. In any case, this can be adjusted in software.
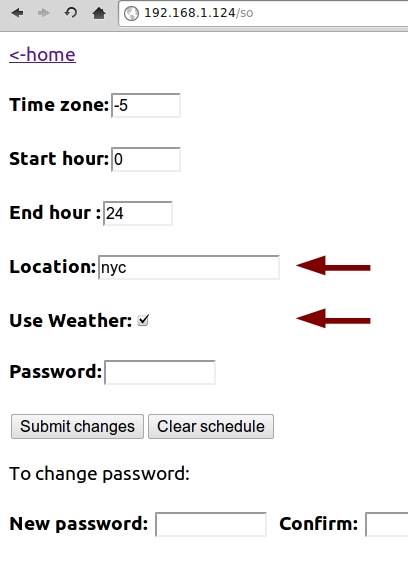
The configuration page has two added fields: the location, and the ‘Use Weather’ checkbox. Again, there is a variety of ways you can specify the ‘location’.

What I am currently working on is to update the software code to allow the control by weather data. The simplest way is to use the ‘rain index’ to control rain delay hours. More complicated strategy can be implemented by yourself. That’s the value of open-source and programmable gadgets!

The OpenSprinkler project was nominated for the Best Internet of Things — Open Source Project category! If you like it, please consider giving it votes. Everyone has 3 votes, you can cast them on different projects, or all on the same project! Thanks!
http://postscapes.com/best-iot-open-source-project-2011

« Newer Posts - Older Posts »