Feed on
Posts
Comments

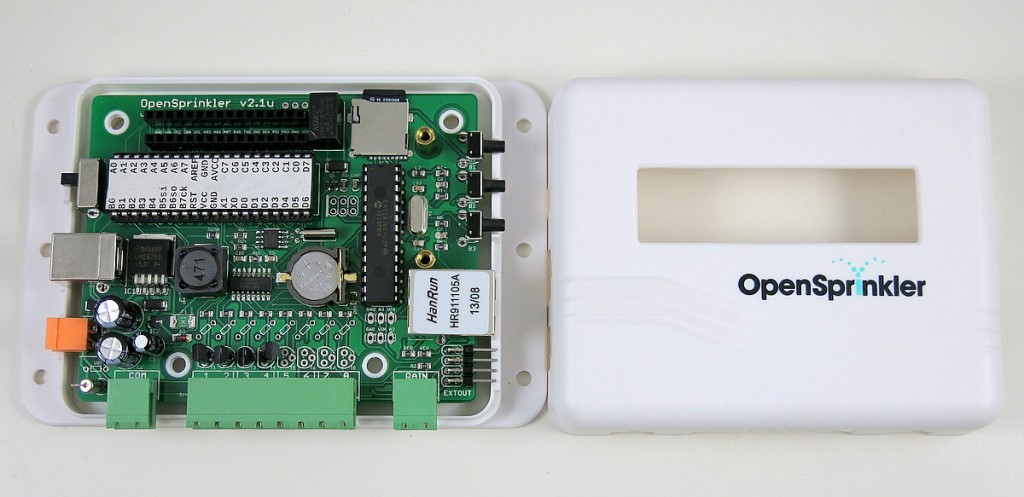
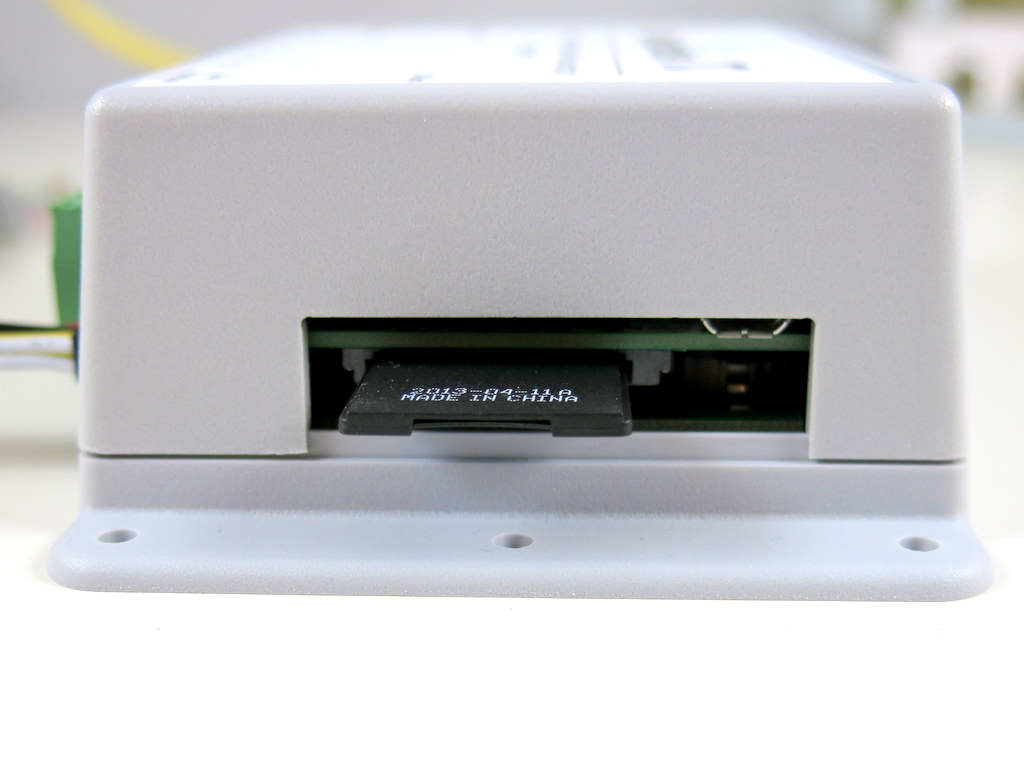
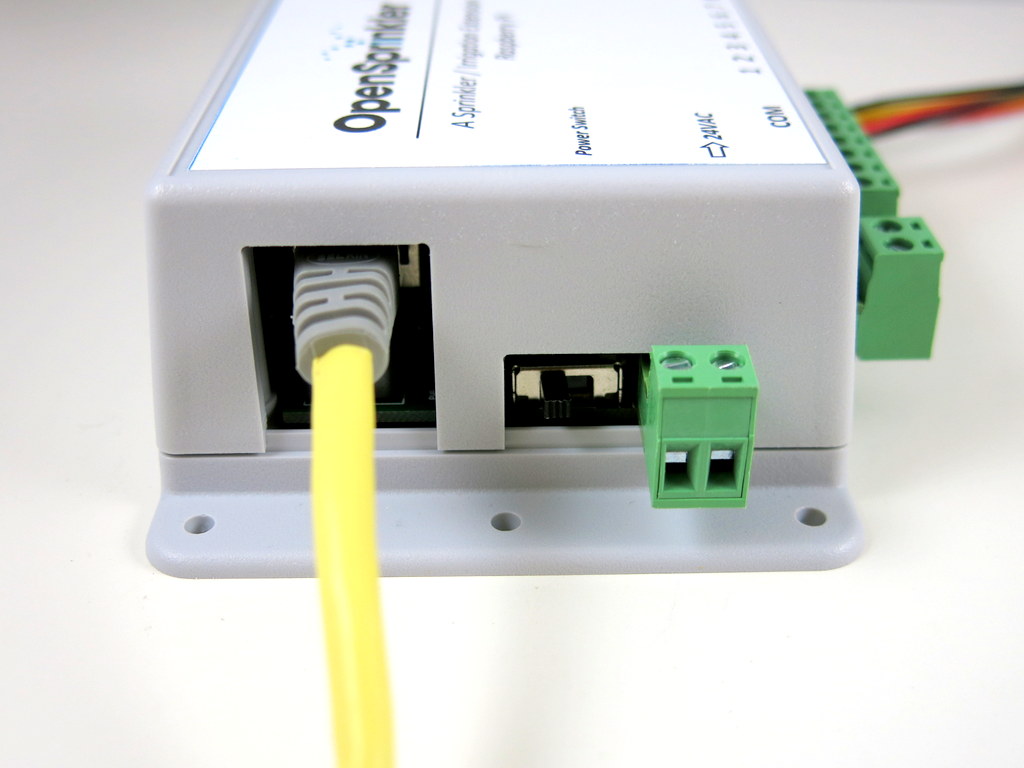
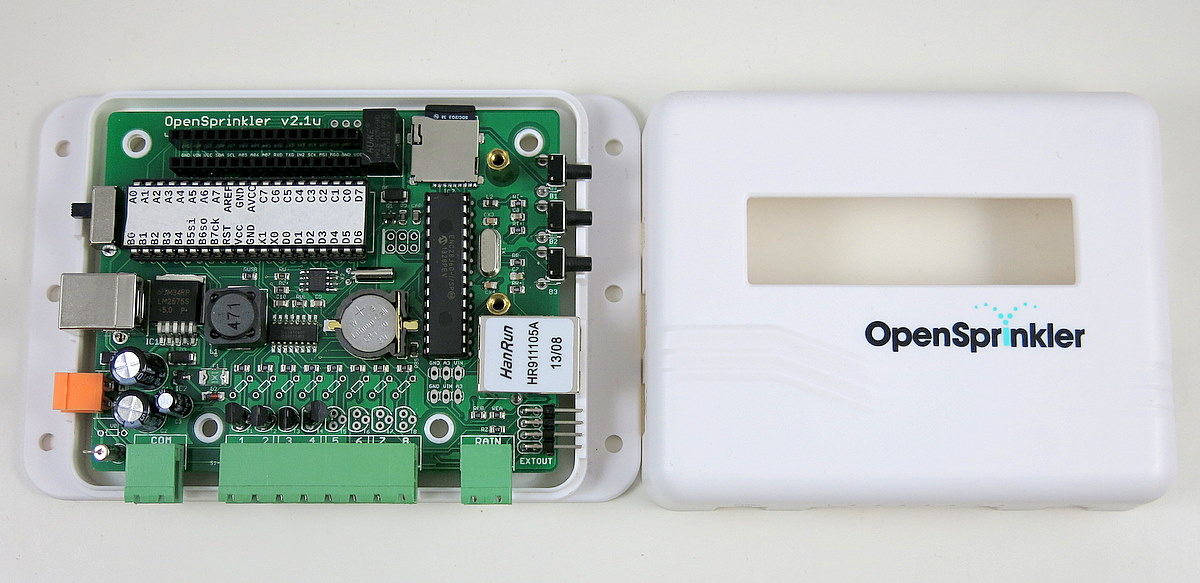
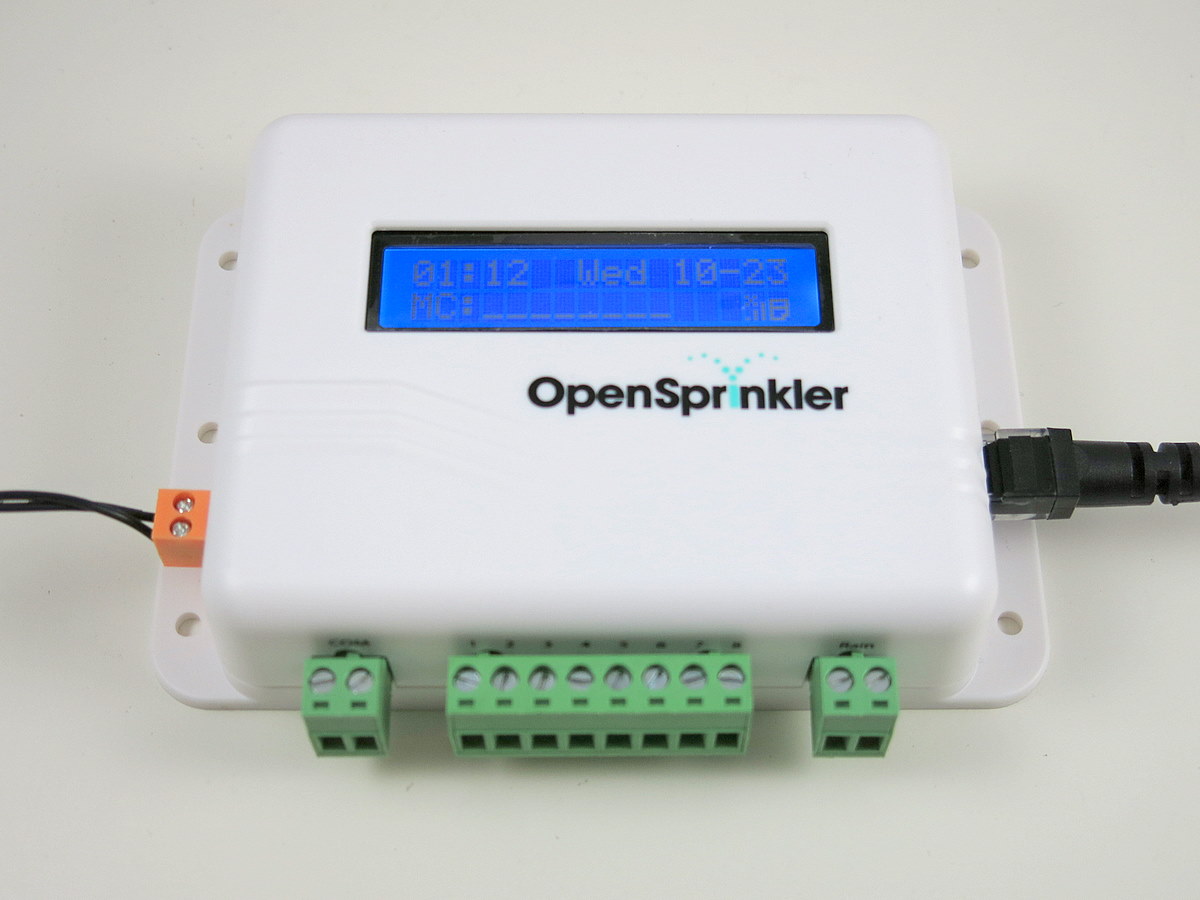
Great news, OpenSprinkler v2.1u semi-assembled DIY kit has now been officially released and available immediately for purchase at the Rayshobby Shop! This version marks a major upgrade from the previous DIY kit v1.42u. With ATmega644 MCU, microSD card slot, and injection-molded enclosure, it not only brings the DIY kit up to speed with the fully assembled v2.0s, but it actually strives to be a little better (hence the migration on the version number) 🙂

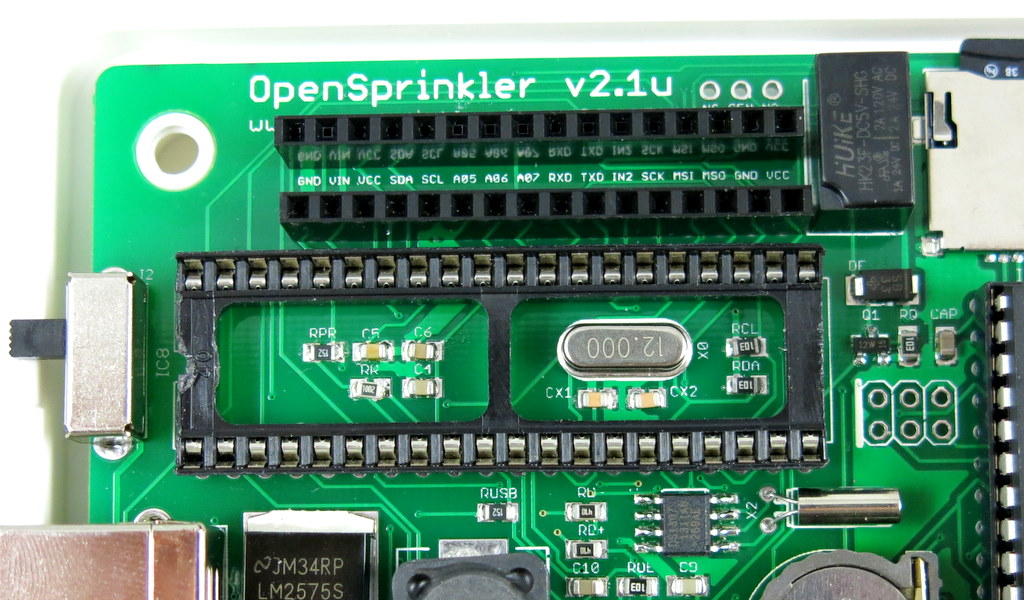
In particular, it adds a mini-relay for general purpose switching (similar to the one on OpenSprinkler Beagle), changed the 24VAC terminal to an orange colored one with different pin spacing, and increased MCU frequency from 8MHz to 12Mhz. It also uses a USBasp bootloader built-in on the ATmega644 MCU for firmware flashing (while all previous versions use a separate ATtiny45 chip). The USBasp bootloader significantly improves the firmware upload speed, and is therefore very helpful if you are making frequent changes to the firmware. These changes are all described in the prototype sneakpeak preview post. Finally, the MCU is pre-loaded with the latest firmware 2.0.3 with several new features compared to the previous firmwares.

osdiy_headerIMG_3758

Another notable change is that v2.1u is the first semi-assembled DIY kit which comes with a partially assembled circuit board with through-hole components. I’ve designed it this way to help reduce the amount of soldering you have to do, while still let you enjoy the process of building, assembling, testing, and hacking the circuit. It’s a first-time experiment, so I will keep my fingers crossed.

In any case, if you’ve been waiting for OpenSprinkler DIY kits, go grab one quickly before it’s gone; if you already own an OpenSprinkler or have heard of OpenSprinkler one way or another, I would appreciate if you can help me spread the word. Thanks!

IMG_3762

This is a special note that we are offering a Thanksgiving promotion for OpenSprinkler 2.0s: use coupon code turkeyday8 to get 8% off regular price. The coupon is only valid on the four days of Nov 27 to 30. The coupon can be applied in the ‘View Cart’ link. If you are thinking of getting an OpenSprinkler 2.0s, either for yourself or as a gift for friends, there is no better time than this! 🙂

  • OpenSprinkler Beagle kit is available for purchase at Rayshobby Shop.

Following the sneak-peak preview, I am excited to announce that OpenSprinkler Beagle (OSBo) v1.0 is now officially released! OpenSprinkler Beagle is an open-source sprinkler / irrigation extension board for the BeagleBone Black. It uses four GPIO pins to control an unlimited number of sprinkler valves. Using this board, you can easily convert your BeagleBone Black into a low-cost, web-connected smart sprinkler controller. You can use online weather data to help regulate sprinkler water time, and remotely change settings and programs when you are traveling away. Best of all, it’s an open-source project — you are welcome to tinker with the hardware and/or software to create your own customized sprinkler controller.

osbo_headerosbo_3

The idea of OpenSprinkler Beagle came from the OpenSprinkler Pi, which is a sprinkler extension board for the Raspberry Pi. Since OpenSprinkler Pi was released earlier this year, it has been a very popular product. Over time I’ve received requests from users to develop a similar board for the BeagleBone Black. While the BeagleBone Black is similar in nature to the Raspberry Pi (i.e. both are low-cost embedded Linux boards), it offers some interesting benefits such as a large number of GPIO pins, build-in analog pins, build-in eMMC, microSD card slot (i.e. smaller profile). faster CPU etc. Undoubtedly it makes sense to develop an OpenSprinkler variant for the BeagleBone Black.

The hardware design of OpenSprinkler Beagle is similar to OpenSprinkler Pi: it contains a 24VAC to 5VDC switching regulator, shift register, triac, DS1307 RTC with CR1220 battery, zone expansion board connector. It also currently shares the same enclosure as OpenSprinkler Pi. But it also offers several improvements, specifically:

  • Added a total of 10 bidirectional TVS for protection against transient voltages: one for each of the eight stations, one for the 24VAC port, and one for the rain sensor port.
  • The BeagleBone Black is now plugged down into OSBo, and all GPIO pins are mapped out to the pinout area.
  • Added a 5V mini-relay for more general-purpose switching. The relay has a contact rating of 120VAC / 2A. It can be used for switching low-power lighting, or garage doors etc.
  • The 24VAC terminal block is changed to orange color with 3.96mm pin spacing. This helps prevent incorrect connection to other terminal ports. There is also a solder-on 2A fuse on the 24VAC line.
  • Added a rain sensor port with pull-up and current limiting resistors.

Below is an annotated diagram that shows the various components of the board:
osbo_v10_diagram_interface


OpenSprinkler Beagle Homepage

Below I am going to give a very brief overview of the hardware and software setups. For details, please watch the tutorial video above, and visit the official OSBo homepage at http://beagle.opensprinkler.com.

Hardware Setup

The hardware is pretty easy to set up. The kit comes with an assembled OpenSprinkler Beagle circuit board, enclosure, screws, terminal blocks, and extra pin headers in case you want to map out additional GPIO pins. In addition, you need to provide a BeagleBone Black, a nano-size WiFi dongle, and a 24VAC sprinkler transformer (these are not included in the kit and need to be purchased separately). The board makes use of the first 2×10 pins on port P9 of the BeagleBone Black for interfacing with shift register, RTC, rain sensor port, and mini-relay. Plug in the BeagleBone Black into OSBo, connect the 24VAC power, plug in the common (COM) wire and individual station wires, and that’s it. The interface is the same with other sprinkler controllers. If you have a rain/freeze sensor, you can connect it to the rain sensor terminal.

Software Setup

Follow the recent update on OpenSprinkler Pi, the software setup for OSBo has also been made a lot easier. Specifically, I’ve created a SD card image with pre-installed software. Download the image, burn it to a microSD card, pop it in to your BeagleBone Black, and you are ready to go. The pre-configured SD card runs a Ubuntu operation system (default user name ubuntu, password temppwd), and sets Dan’s interval_program to start by default. As soon as the system has booted and is up online, you can open a browser and type in http://x.x.x.x:8080 (where x.x.x.x is your BeagleBone’s IP address). This will bring up the interval program’s web interface. The interval program has a rich set of software features, such as setting multiple sprinkler programs, preview programs, run-once program, manual operation, logging, rain delay etc. The details are all explained in the user manual of the interval program.

The SD card has also pre-installed Samer’s mobile web app, which provides a nice front-end for mobile devices such as pads and phones. It is available at http://x.x.x.x/sprinklers.

In addition, there are three demo programs installed in the /home/ubuntu/demos/ folder. There is a self-test program, a relay test program, and a Google Calendar-based sprinkler program, which makes use of a Google Calendar for scheduling water events. I’ve received many good comments regarding the Google Calendar-based program — while it looks simple, it’s quite convenient to use and very suitable for the less technical minded people.

Since the software is pretty much all adapted from OpenSprinkler Pi, feel free to refer to the OpenSprinkler Pi documents if anything is unclear. I will try to make the OpenSprinkler Beagle website more self-contained, and it will have to be polished over time.

Naming

In the previous post, I asked for naming suggestions. Thanks to everyone who made comments there. After careful thoughts, I’ve decided to use the full name OpenSprinkler Beagle, and short name OSBo. Particularly, the short name OSBo is picked because it goes well with OSPi (OpenSprinkler Pi), is easy to distinguish with OSBee (openSprinkler Bee), and Bo is a name of a dog. So overall I consider this to be the top choice.

Thanks for reading this post. If you are interested in buying the OpenSprinkler Beagle, we have a limited number of kits immediately available, at the first link below. Feel free to leave comments and suggestions below or at the Rayshobby Forum.

Links


An OpenSprinkler Pi user Michael Wilson sent me this nice illustrated document he wrote about setting up OpenSprinkler Pi and the mobile web app. He successfully installed OpenSprinkler Pi to replace his previous Toro controller. The document has somehow slipped out of my mind and has been sitting in my mailbox for a few months. I should have posted it when I received it! Anyways, thanks Michael for sharing it with us!

Download as PDF

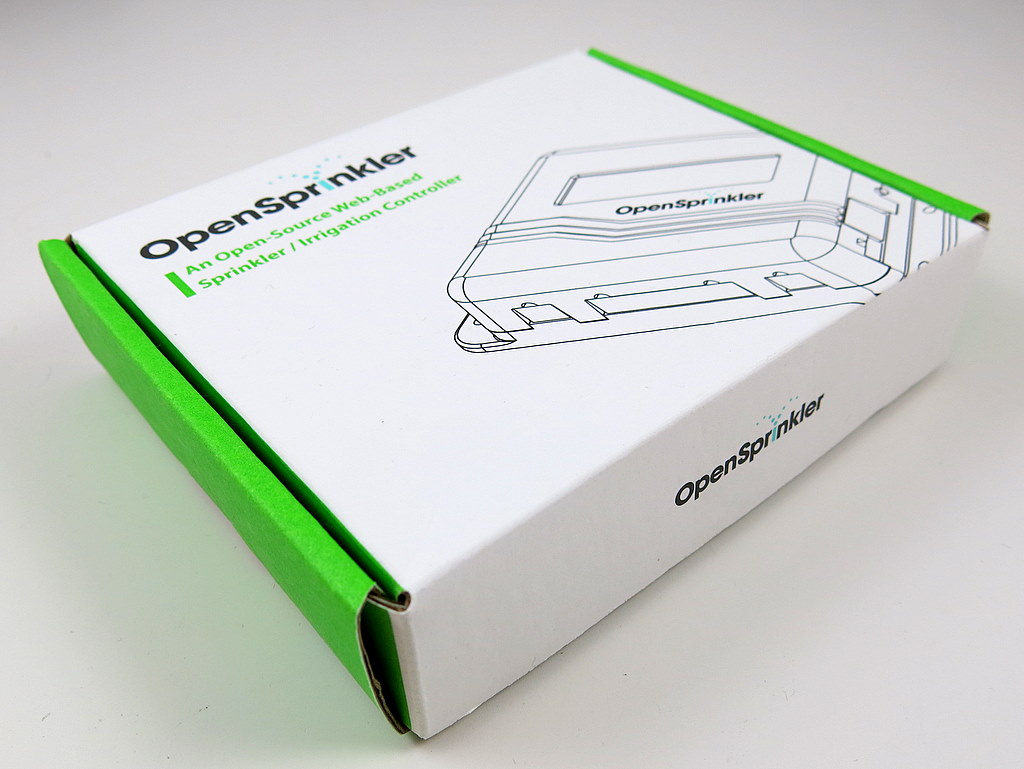
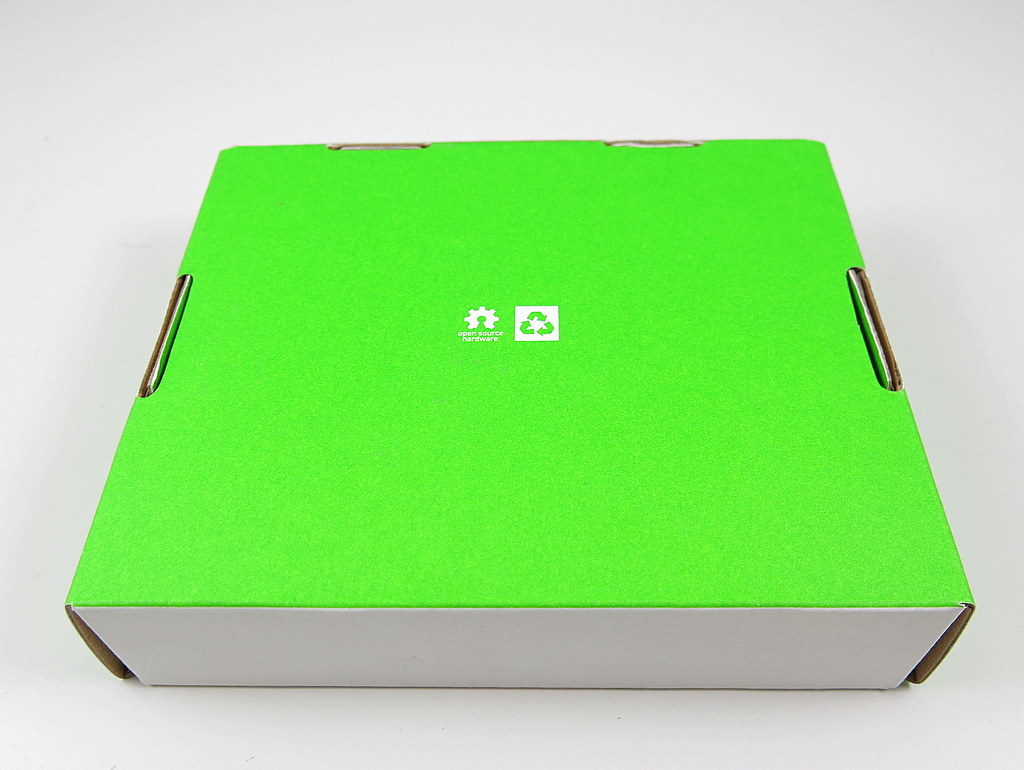
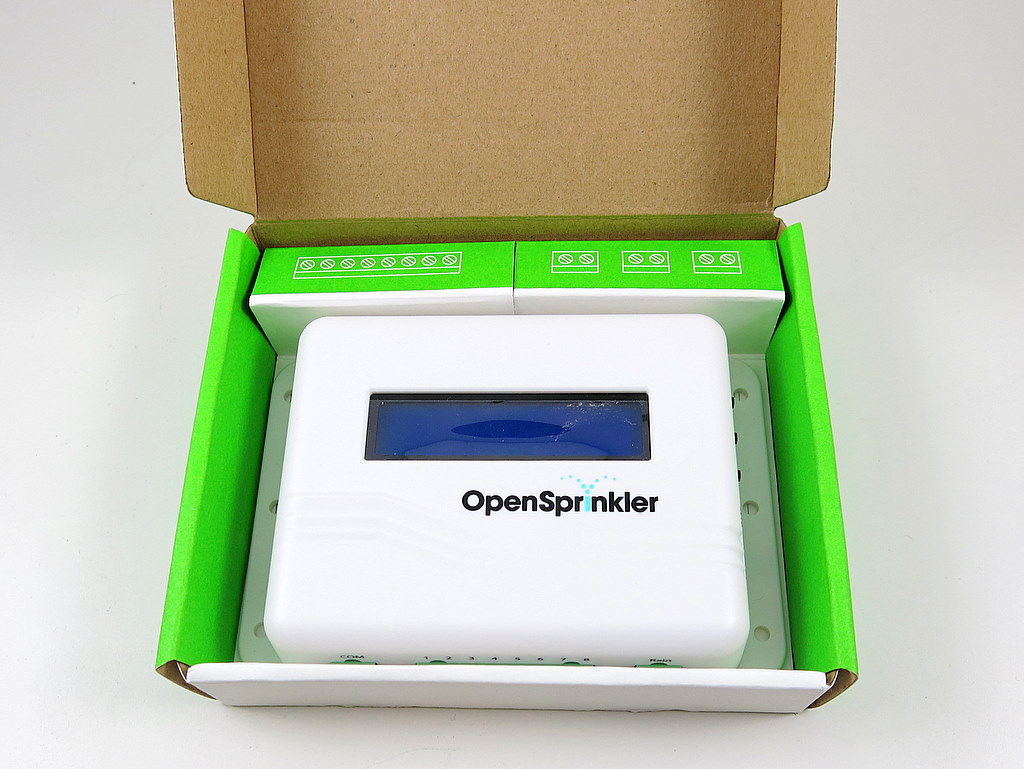
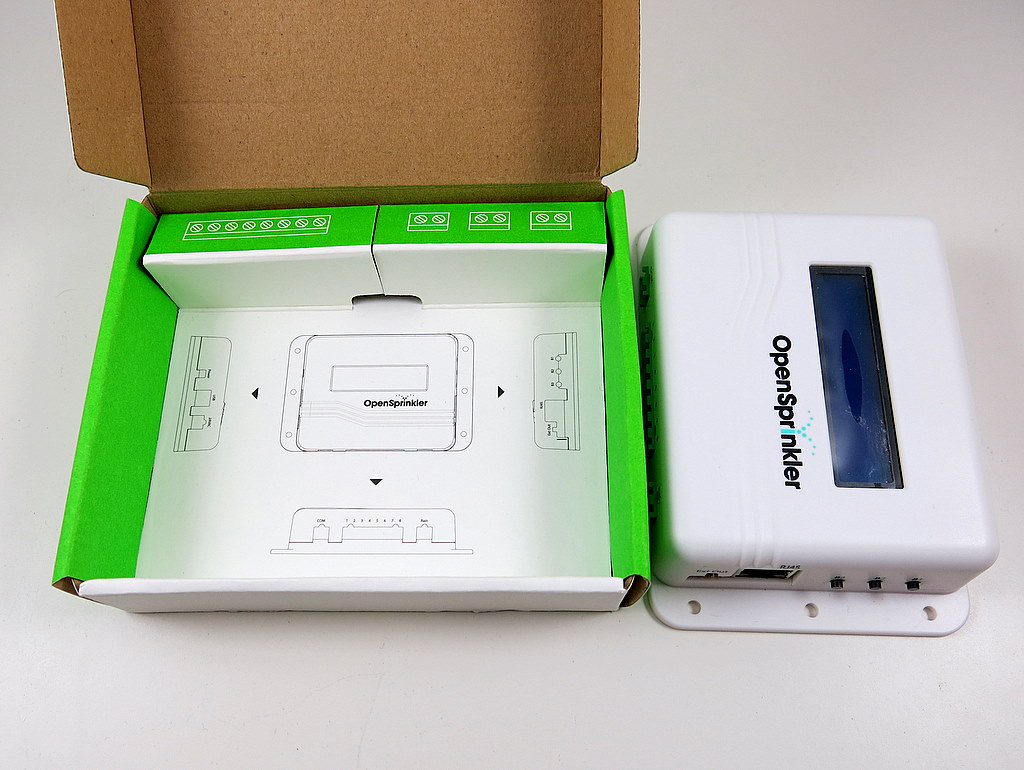
This post is a direct update of the post I wrote in September during my visit to SeeedStudio. Today I received the official sample of the OpenSprinkler paper box. Check the photos below. Very cool!

IMG_3507IMG_3508

IMG_3509IMG_3510

The paper box was designed by SeeedStudio, and hopefully it will give OpenSprinkler a more professional touch.

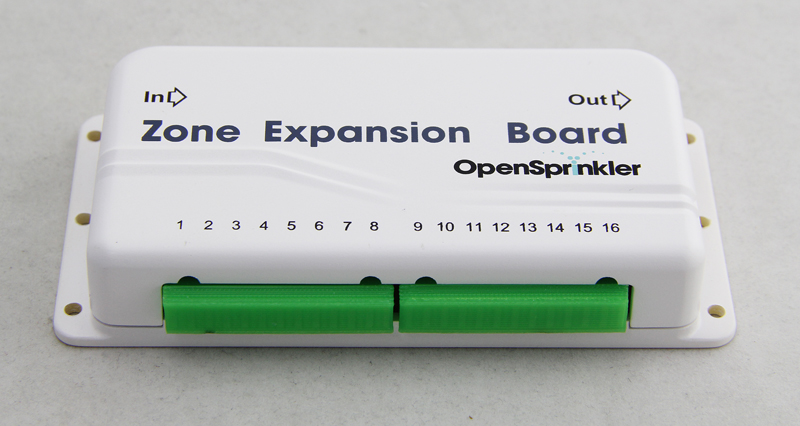
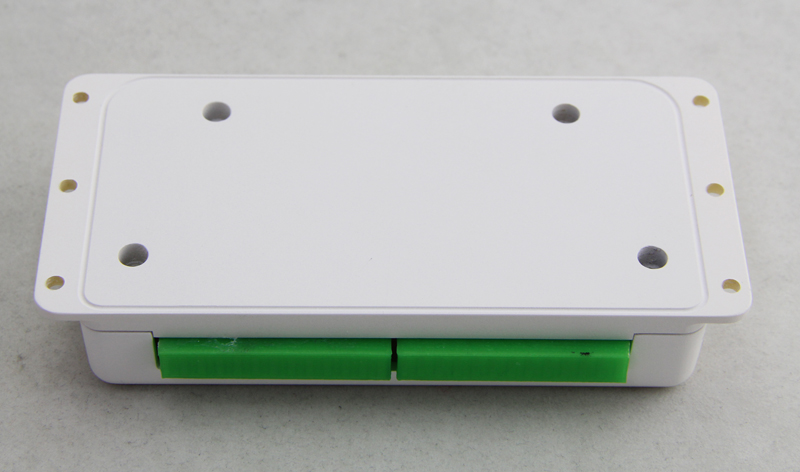
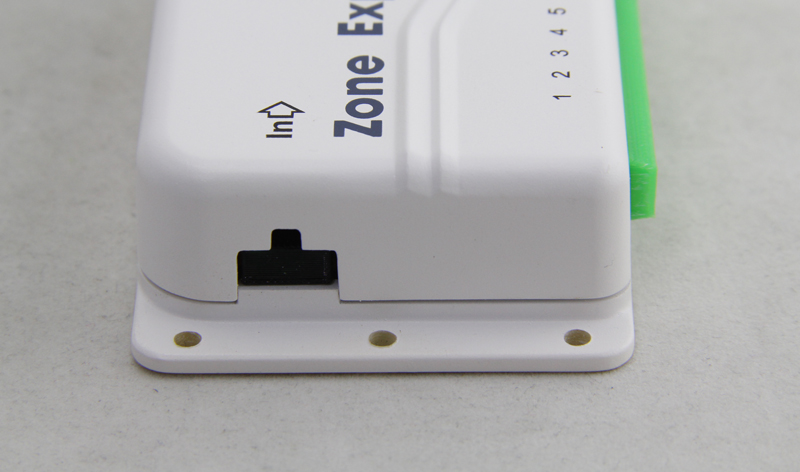
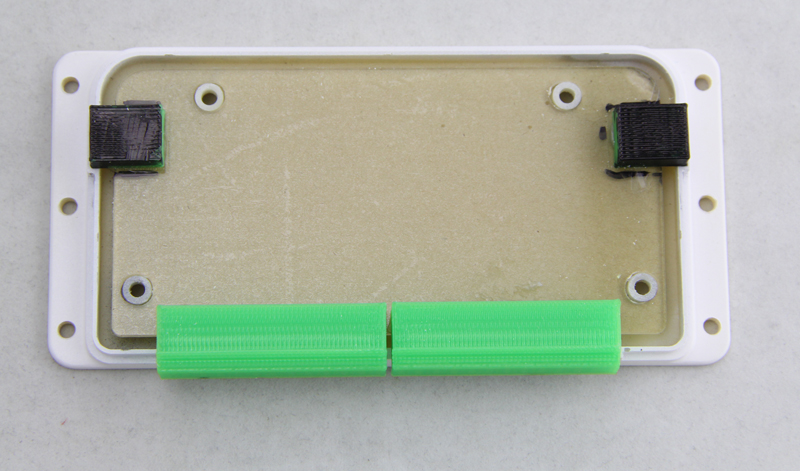
The other piece of news is that we’ve finalized the new zone expansion board enclosure design. This is going to be injection molded soon. Below are pictures of the 3D printed prototype. The style follow the OpenSprinkler injection molded enclosure, so they will have a consistent look. The new design allows 16 stations per zone expansion board, yet the board size is roughly the same with the current 8-station zone expansion board. So it’s really really compact. This will probably become available in the first quarter next year.

image004image005

image006image007

« Newer Posts - Older Posts »