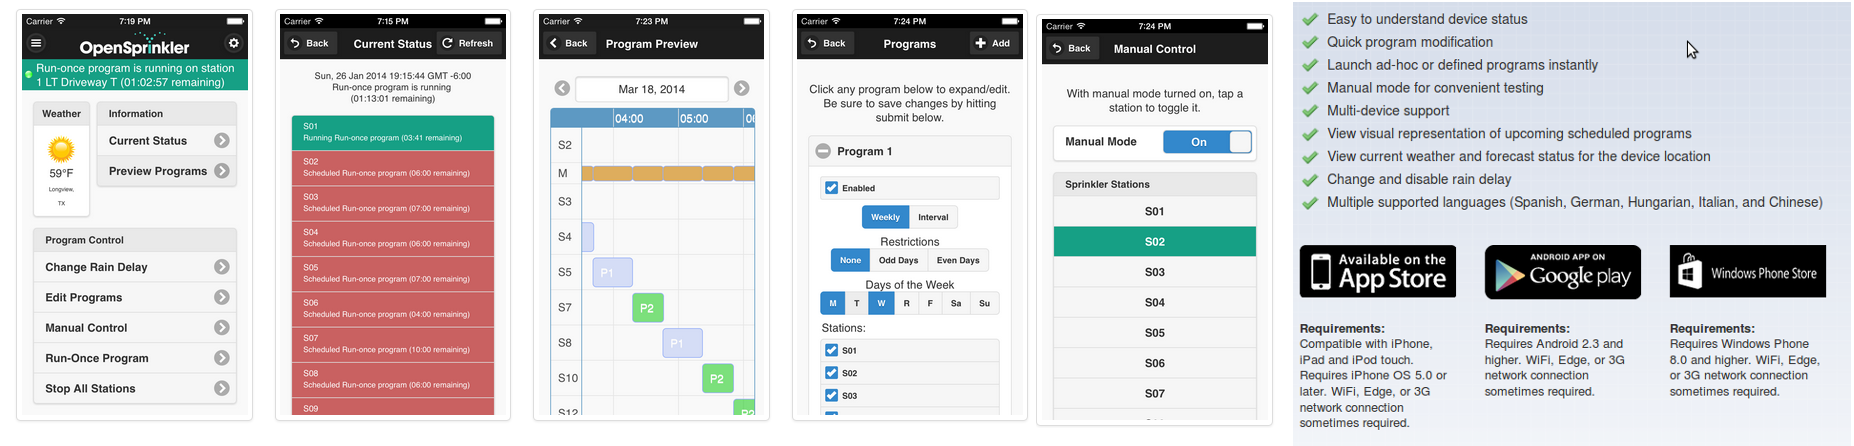
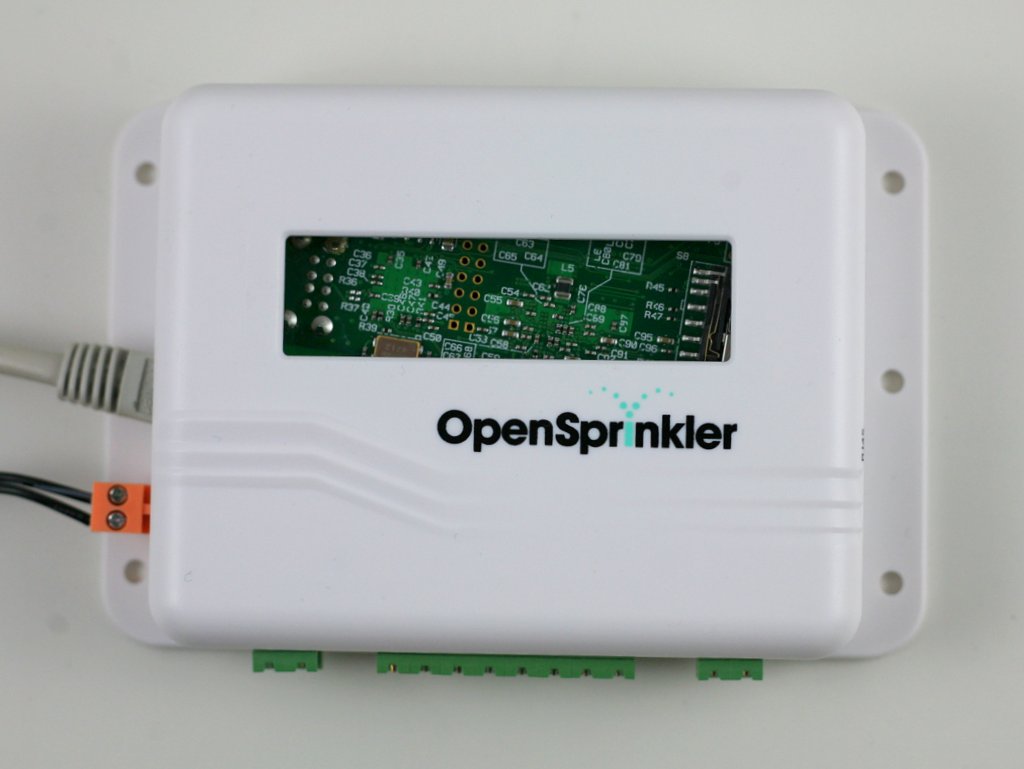
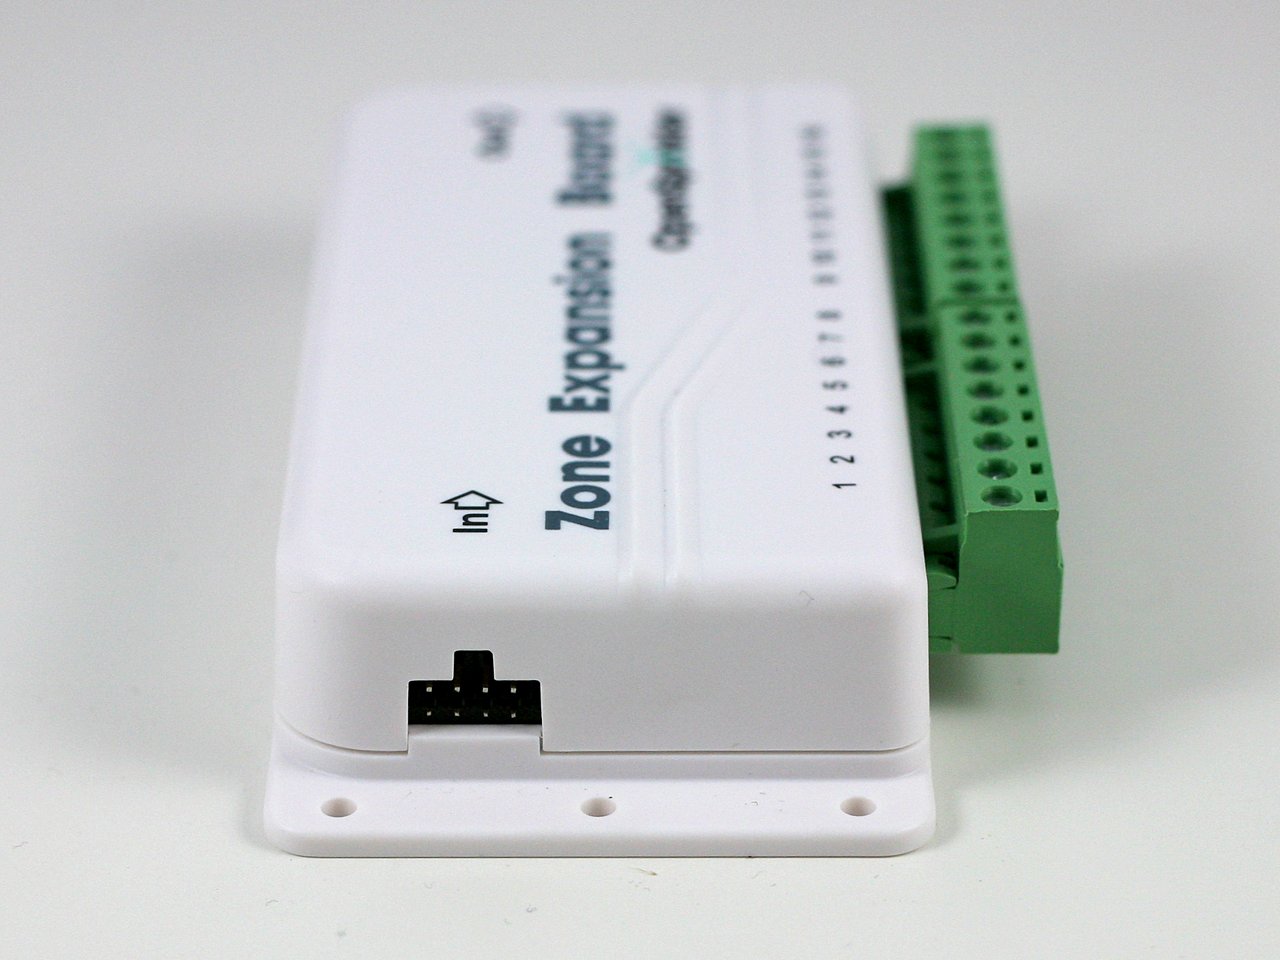
A new day, a new post. Today’s post is about the new OpenSprinkler Zone Expansion Board v2.0, with injection-molded enclosure and 16-station capability. The injection-molded enclosure provides a coherent look with the OpenSprinkler main controller; and the 16-station capability adds twice as many stations as before, without taking extra space.
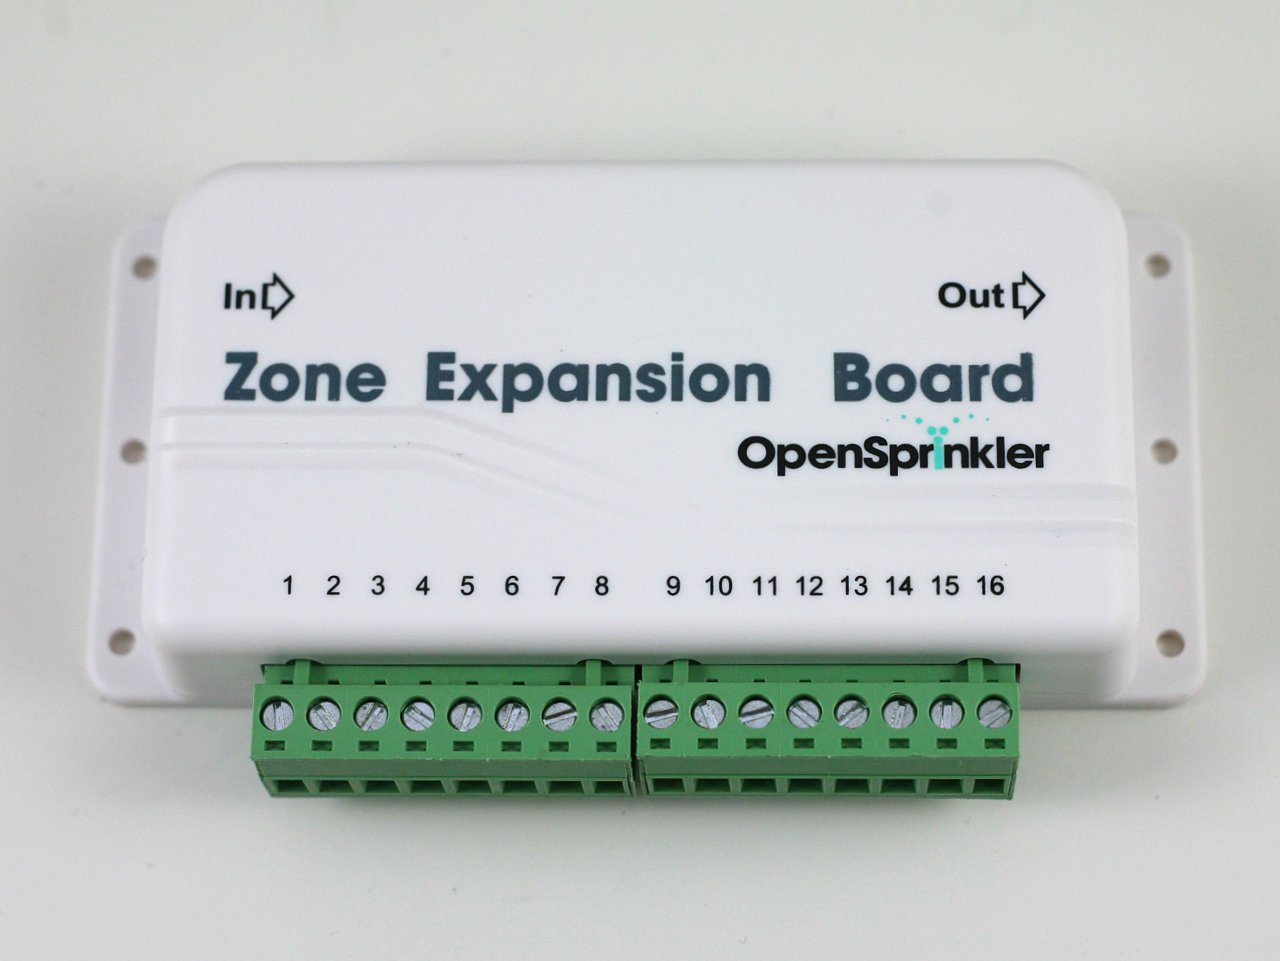


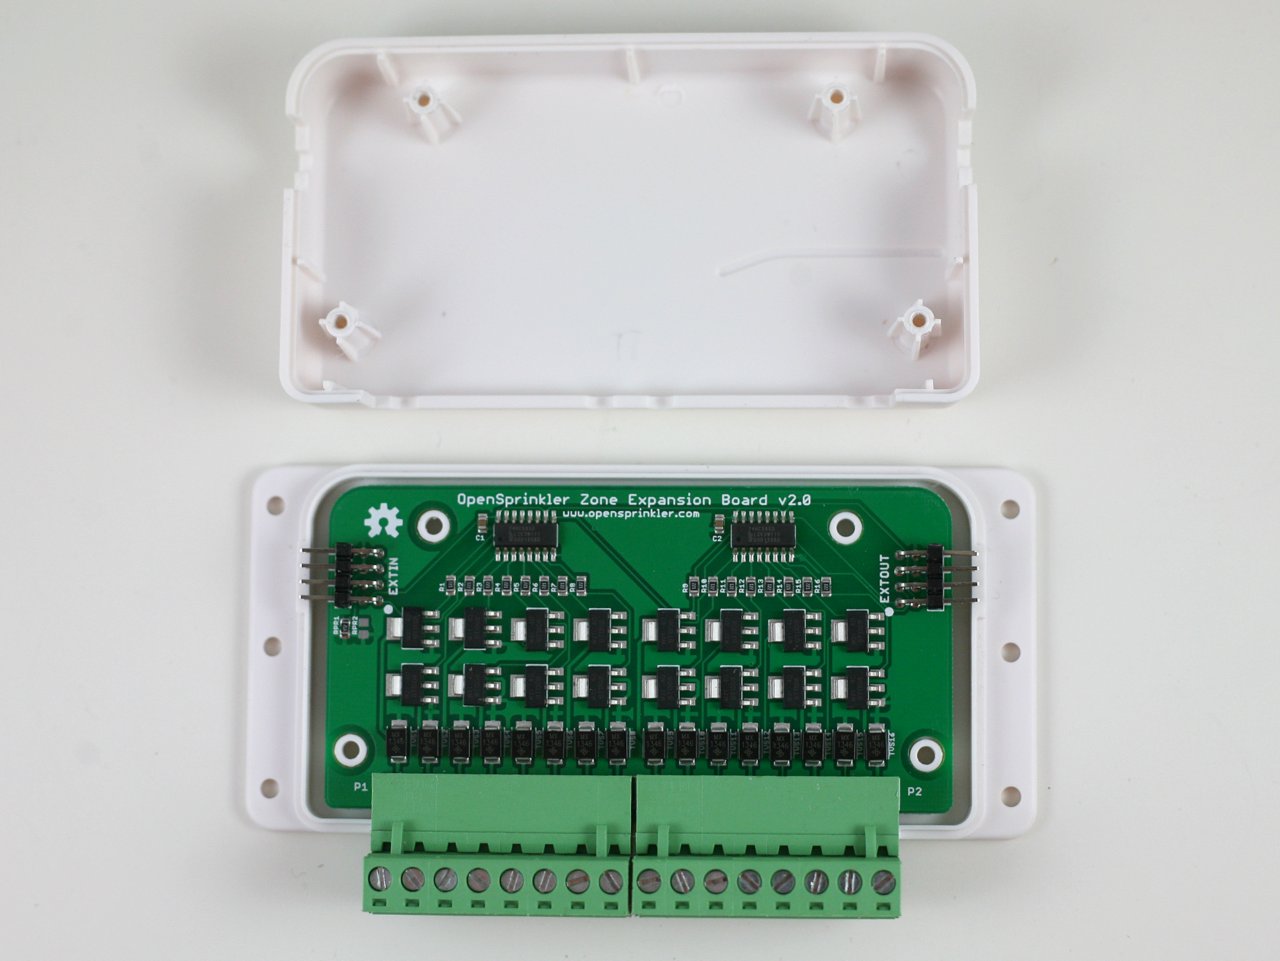
As I briefly talked about in a previous post, this new version 2.0 is only slightly larger than the previous version 1.1, but can handle twice as many stations. You can think of it as basically two 1.1 boards (8 stations) squeezed together onto a single board that’s roughly the same size as before. What made this possible is a clever design that makes use of the same four support pillars to both attach the top and bottom pieces together, as well as secure the PCB inside the enclosure. This saves some space normally reserved for the PCB screws. The design was proposed by Xavier at SeeedStudio — the principal industrial designer for the project — and it follows the same design adopted for the OpenSprinkler enclosure.
Also, version 2.0 has included per-station bidirectional transient voltage suppressor (TVS) for added electric protection. These are essentially diodes can clamp the voltage if it exceeds a threshold in either direction. This can reduce the chance that a high transient voltage or lightening damages the circuit or the sprinkler solenoid.

In terms of usage, version 2.0 is the same as 1.1. It works for all of OpenSprinkler, OSPi and OSBo. Use the 2×4 extension cable to link the OUT port of the main controller to the IN port of the expansion board. Additional expansion boards can be daisy-chained in the same way — by following the OUT -> IN links. Because 2.0 and 1.1 have the same cable wiring, they can be mixed and used together.
The firmware currently does not automatically detect the number of stations. So you need to keep in mind that each 2.0 counts as 2 expansion boards (2x 8) in the option settings.
Because of the difficulty in stocking both versions, we have discontinued 1.1 and are only offering 2.0 now. Price-wise, it is a little more expensive than 1.1. So if you only need 8 extra stations, sorry, you have to pay the extra to get 2.0. But if you need a larger number of extra stations, this is a great deal because it’s considerably cheaper and saves a lot of space too.
OpenSprinkler Zone Expansion Board v2.0 is available for purchase at the Rayshobby Shop. We offer bundled discount if you are buying it together with any OpenSprinkler main controller, including OpenSprinkler v2.1s, DIY v2.1u, OSPi and OSBo. Be sure to check the “Add Zone Expansion Board Options” when you purchase. Thank you!